< Back to Vehicle Design & Engineering
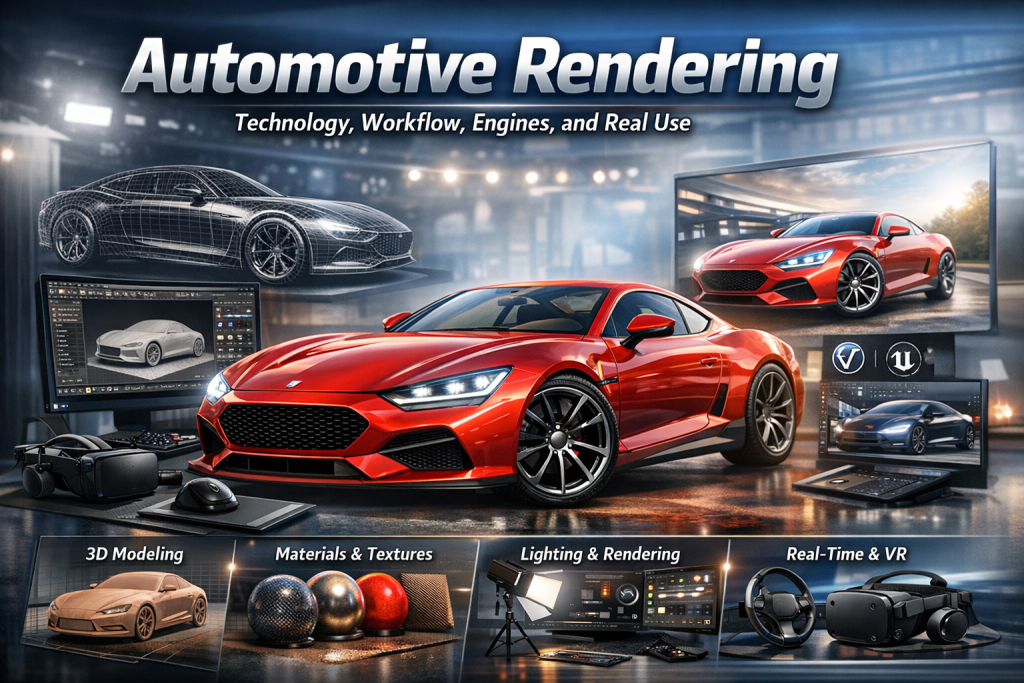
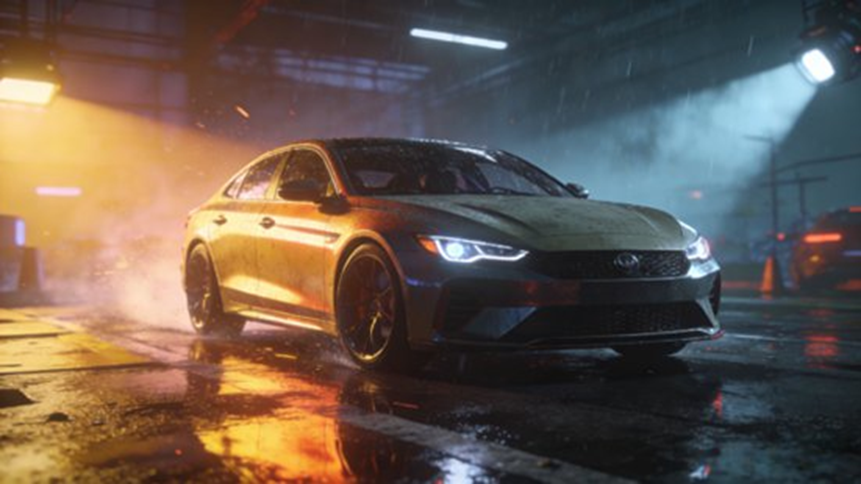
Automotive rendering is the process of turning 3D car models into realistic images or interactive scenes using materials, lighting, and rendering engines. It’s now a core part of how cars are designed, tested, and sold—often before a physical vehicle even exists.
- TL;DR
- Why this matters
- 3D Modeling (The Base)
- Materials and Textures (Where Realism Comes From)
- Lighting and Environment
- Step 1: Planning
- Step 2: 3D Modeling
- Step 3: Preprocessing
- Step 4: Materials and Textures
- Step 5: Lighting and Scene
- Step 6: Rendering
- Step 7: Post-Production
- Offline Rendering (Best for Quality)
- Real-Time Rendering (Best for Interaction)
- Material Realism
- Lighting vs Speed
- Heavy Models and Large Scenes
- Real-Time Stability
- AI Materials
- Hybrid Rendering
- Lightweight Scenes
- Physics + Rendering Sync
- Volvo EX90
- Porsche
- BYD
- How can we achieve truly photorealistic car rendering?
- Real-time vs offline rendering: which is better?
- How do you handle high-poly car models?
- How do automotive configurators work?
- What are the biggest bottlenecks today?
TL;DR
- Built on 3D modeling, materials (PBR), and lighting
- Follows a clear pipeline from model → render → polish
- V-Ray / Arnold for realism, Unreal / Unity for interaction
- Main challenges: materials, lighting, heavy models, real-time performance
- Moving toward AI tools, hybrid rendering, and cloud pipelines
Why this matters
If you’ve ever seen a car launch image and thought it looked like a photo—it probably wasn’t. A lot of what you see in ads, configurators, and even internal design reviews is fully rendered. That shift has changed how fast teams can move.
What Is Automotive Rendering?
Automotive rendering means using computer graphics to turn a 3D vehicle model into a realistic image or interactive experience.
Compared to sketches or clay models, it allows:
- Faster changes
- Lower cost
- More flexibility
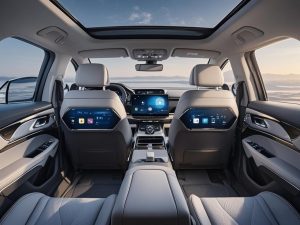
It’s now standard in EV development and smart cockpit design.
Why Automotive Rendering Matters
Automotive rendering connects design, engineering, and marketing.
It’s used for:
- Concept design → testing shapes and styles
- Engineering checks → reviewing structure and components
- Marketing content → ads, brochures, product pages
- Simulation → cockpit UI, virtual driving, training
It helps teams move from idea → product → customer view without rebuilding everything physically.
What Are the Core Technical Foundations?
3D Modeling (The Base)
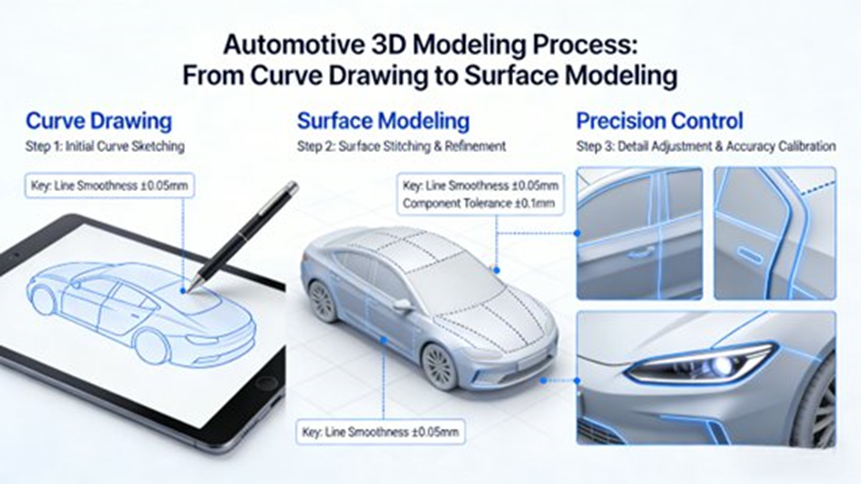
Everything starts with a precise 3D model.
- NURBS (Rhino) → smooth body surfaces
- Polygon modeling (Maya / 3ds Max) → interiors and details
- Laser scanning → capture real vehicles or clay models
Accuracy here directly affects how real the final render looks.
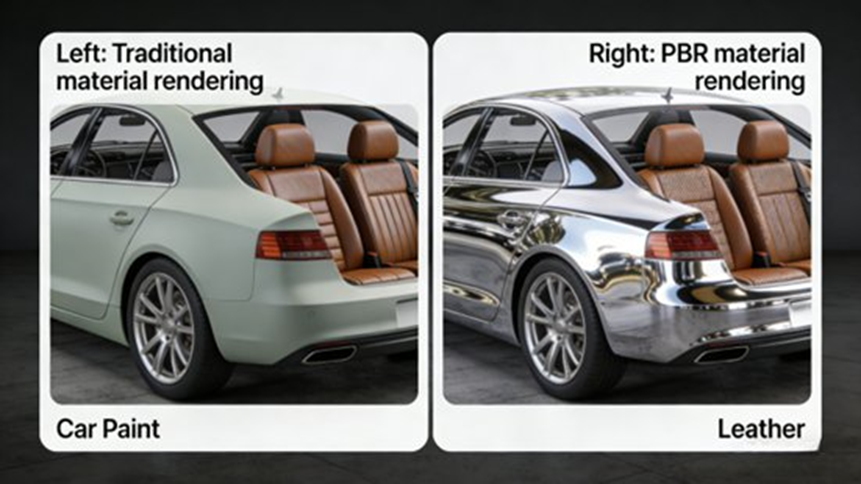
Materials and Textures (Where Realism Comes From)
Realism depends heavily on materials.
Modern workflows use PBR (Physically Based Rendering):
- Base color
- Metallic
- Roughness
- Normal maps
- Height maps
Examples:
- Car paint: layered (clear coat + base + metallic flakes)
- Glass: transparency + refraction
- Leather: grain + stitching
- Metal/plastic: reflection + surface detail
Texture mapping ensures:
- No stretching
- Correct alignment
- Real-world imperfections like scratches and dust
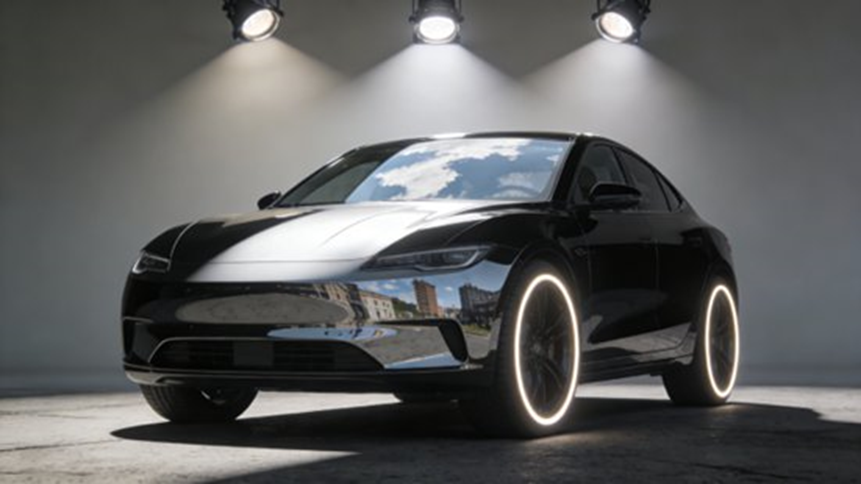
Lighting and Environment
Lighting is what makes a render believable.
Typical setup:
- Ambient light → base brightness
- Key light → main shape
- Fill light → softer shadows
- Rim light → edge highlight
HDRI maps:
- Add real-world reflections
- Speed up setup
- Help match environments like studios or outdoor scenes
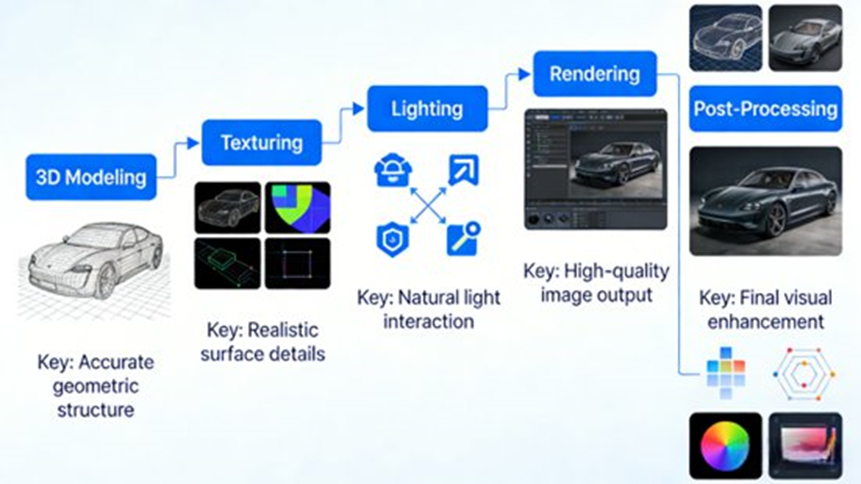
What Is the Standard Workflow?
Automotive rendering follows a structured process. Skipping steps usually shows in the final image.
Step 1: Planning
- Define goal (marketing, design, simulation)
- Decide output (image, video, interactive)
- Gather references
Step 2: 3D Modeling
- Build body and surfaces
- Add interior and parts
- Clean geometry
- Use scan data if needed
Step 3: Preprocessing
- UV unwrapping
- Fix topology
- Reduce unnecessary detail
Step 4: Materials and Textures
- Group materials
- Apply PBR settings
- Add textures
- Preview and tweak
Step 5: Lighting and Scene
- Build environment (studio, street, showroom)
- Set lights
- Apply HDRI
- Set camera and depth of field
Step 6: Rendering
- Choose engine
- Set resolution and sampling
- Run test renders
- Use cloud rendering if needed
(Some platforms speed things up 5–400× depending on scale.)
Step 7: Post-Production
- Clean noise
- Adjust color and contrast
- Improve highlights
- Add background
Which Rendering Engines Are Used?
Offline Rendering (Best for Quality)
Short answer: use these when you need the highest realism.
- V-Ray → strong reflections and materials
- Arnold → handles complex lighting well
- KeyShot → fast and easy for concept work
Real-Time Rendering (Best for Interaction)
Short answer: use these when users need to interact with the car.
- Unreal Engine
- Real-time ray tracing
- Nanite (high-poly handling)
- Used in cockpit simulation and virtual showrooms
- Unity
- Lightweight
- Works across mobile, web, VR
- Twinmotion
- Quick setup
- Switch between real-time and path tracing
How to Choose the Right Engine
- Marketing images → V-Ray / Arnold
- Quick concepts → KeyShot
- Virtual showroom → Unreal
- Mobile apps → Unity
- Design review → Twinmotion
What Are the Biggest Challenges?
Material Realism
- Pearlescent paint
- Carbon fiber
- Layered reflections
- Small imperfections
Lighting vs Speed
- Higher quality = slower renders
- Lower quality = noise
- Real-time adds hardware limits
Heavy Models and Large Scenes
- Millions of polygons
- 4K / 8K textures
- High RAM and storage demand
Real-Time Stability
- Frame drops
- Loading delays
- Physics mismatch
- Multi-user issues
How Can Rendering Be Optimized?
AI Materials
- Generate textures
- Suggest parameters
- Build reusable libraries
Hybrid Rendering
- Bake static lighting
- Keep dynamic lighting real-time
- Use adaptive sampling
Lightweight Scenes
- LOD systems
- Reduce geometry
- Compress textures (BC7, ASTC)
- Use cloud rendering
Physics + Rendering Sync
- Keep motion and visuals aligned
- Preload assets
- Balance CPU/GPU usage
Where Is Automotive Rendering Used?
- Design
- Engineering
- Marketing
- Virtual showrooms
- Cockpit simulation
- Training
Real-World Examples
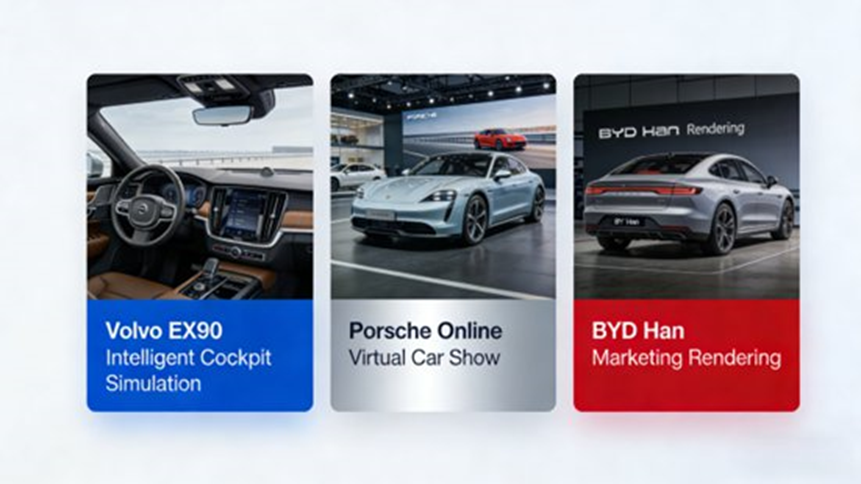
Volvo EX90
- Unreal Engine cockpit simulation
- 30% faster development
- 40% lower cost
Porsche
- Virtual showroom
- Customization
- More engagement and orders
BYD
- V-Ray for engineering
- KeyShot for marketing
- Faster output, lower cost
Automotive Rendering FAQs (Industry Trends)
How can we achieve truly photorealistic car rendering?
Short answer: Use PBR materials, layered car paint shaders, and accurate lighting.
To get closer to real results:
- Combine ray tracing with HDRI
- Use high-quality textures
- Focus on paint behavior (flakes, reflections, angle shifts)
Many teams now use AI tools to speed up material setup.
Real-time vs offline rendering: which is better?
Short answer: both are needed.
- Offline → best for images and videos
- Real-time → best for interaction
Most teams now use both in the same pipeline.
How do you handle high-poly car models?
Short answer: reduce load, not detail.
- Use LOD systems
- Compress textures
- Stream assets
- Use Nanite or cloud rendering
The trend is less manual cleanup and more engine-driven optimization.
How do automotive configurators work?
Short answer: they switch materials and parts in real time.
Typical features:
- Change paint, wheels, interior
- Real-time lighting
- Interactive camera
These tools are now part of the sales process, not just marketing.
What are the biggest bottlenecks today?
Short answer: materials, lighting, performance, and stability.
Main issues:
- Complex materials
- Speed vs quality
- Hardware limits
- Real-time sync problems
New approaches include AI tools and hybrid rendering.
What’s Next for Automotive Rendering?
- AI-assisted workflows
- Real-time ray tracing everywhere
- Cloud rendering
- Digital twins
- Fully interactive customization
Key Takeaways
- Built on modeling, materials, and lighting
- Structured workflow matters
- Engine choice depends on use case
- Challenges are known and being solved
- Future is real-time and interactive
Author
Johnny Liu
CEO, Dowway Vehicle
15+ years working in automotive visualization, digital vehicle development, and rendering pipelines.
Last updated: March 27, 2026
